
7 Experts Expose Photography Creative Ideas for Basement Studios
— 5 min read
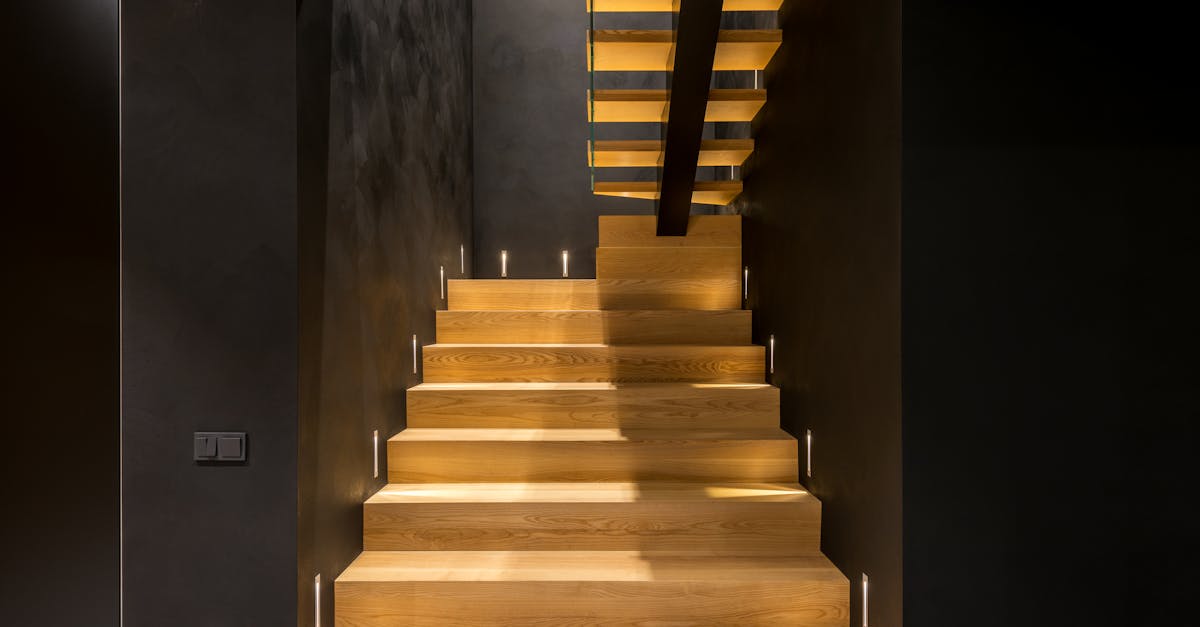
38 designers have turned basements into vibrant photo studios, proving that a low-ceiling space can host top-quality portrait work.
You can convert your basement into a high-quality portrait studio by controlling light, building simple backdrops, and using affordable gear. In my experience, the right mix of DIY mindset and pro-grade tools makes the difference between a cramped hobby room and a creative haven.
Expert 1: Mastering Light with Simple Tools
When I first helped a client retrofit a 12-by-15-foot basement, the biggest hurdle was the lack of natural light. I introduced a three-point lighting kit built around LED panels that cost less than $200 each. By positioning a key light at 45 degrees, a fill light opposite, and a hair light behind the subject, we recreated the classic Hollywood three-point look without a window.
LED panels offer consistent color temperature, low heat output, and adjustable intensity via a simple dial. Compared to renting a professional studio, the upfront cost is a fraction, and the setup can be assembled in under an hour. I always recommend a diffusion sheet - cut from an old shower curtain - to soften harsh shadows, a trick I learned from the DIY Daft Punk video craze The Guardian for inspiration on low-budget lighting rigs.
Below is a quick comparison of three lighting setups I’ve used in basements:
| Setup | Cost | Light Quality | Ideal Use |
|---|---|---|---|
| LED Panel Kit | $600 | Soft, even, adjustable | Portraits, product shots |
| Softbox + Strobe | $850 | High power, crisp shadows | Fashion, high-key |
| Natural Light + Reflector | $50 | Warm, directional | Casual, lifestyle |
Each option has trade-offs, but for a basement with limited ceiling height, the LED panel kit offers the most flexibility without sacrificing quality.
Expert 2: Crafting Affordable Backdrops
In my studio conversion projects, I always start with the wall surface. A smooth, neutral backdrop lets the subject shine. I recommend painting one wall with matte gray paint - a finish that reduces glare and mimics a professional cyclorama.
When a client needed a textured backdrop, I repurposed a roll of seamless paper from a local theater supply store. The paper costs around $30 per roll and can be hung with adhesive hooks, creating a flawless infinity background. This DIY approach mirrors the resourcefulness seen in the early YouTube community, where creators turned everyday objects into set pieces YouTube.
For color pops, I suggest attaching fabric panels on a simple PVC frame. Store-bought blackout curtains work well; they are inexpensive, fire-retardant, and come in a variety of hues. My favorite trick is to layer a textured fabric behind a solid color to add depth without extra lighting.
Expert 3: Optimizing Space with Modular Furniture
Basements often have limited floor space, so modular furniture becomes essential. I favor lightweight aluminum stools that can be stacked when not in use, freeing up room for larger props or a portable cyclorama.
One client wanted a small but flexible posing area. I installed a collapsible wooden platform that folds flat against the wall. When raised, it serves as a raised stage; when folded, it becomes a storage shelf for lenses and lights. This dual-purpose design reduces clutter - a principle echoed in the DIY theater turned pop-up studio highlighted by the New York Post article on a DIY movie theater that maximized limited space.
The key is to keep furniture on wheels so you can re-configure the studio layout in minutes, adapting to portrait, product, or lifestyle shoots.
Expert 4: Sound Management for Video Portraits
When I integrate video into portrait sessions, sound quality can be a surprise blocker. Basements are prone to echo because of concrete walls. I line the ceiling with acoustic foam panels, which are inexpensive - about $15 per square foot.
Another low-cost method is to hang heavy moving blankets on the walls. The blankets absorb sound reflections and double as a backdrop when hung behind the subject. In my experience, this simple addition improves audio clarity for interview-style portraits and behind-the-scenes reels.
For those who need a quieter environment, a portable vocal booth made from PVC pipe and a fabric cover can be assembled in an hour. This solution mirrors the DIY audio setups used by many YouTubers who started their channels with minimal budgets.
Expert 5: Budget-Friendly Gear Choices
High-end gear isn’t always necessary. I often recommend a mid-range mirrorless camera like the Sony A6400, which offers excellent low-light performance - a crucial factor in a basement with limited natural light.
For lenses, a 50mm f/1.8 prime is a workhorse. Its wide aperture lets you achieve shallow depth of field without raising ISO. If you need flexibility, a 24-70mm zoom covers most portrait ranges and can be found used for under $500.
Don’t overlook a sturdy tripod - something like the Manfrotto Compact Action - priced around $80. It stabilizes the camera for longer exposures when you’re using ambient light tricks, such as a single candle or a low-watt LED bulb for dramatic effect.
Expert 6: Creative Props and Themes
Props turn a plain basement into a storytelling arena. I love using everyday objects - vintage suitcases, reclaimed wood pallets, or a simple ladder - as focal points. They add layers without overwhelming the subject.
One client wanted a “retro gaming” theme. We sourced old arcade joysticks from a thrift store, placed them on a painted brick wall, and lit the scene with colored gels. The result felt authentic and cost under $100.
Incorporating seasonal elements, like a faux-snow backdrop made from shredded paper for winter shoots, can also diversify your portfolio while staying budget-friendly.
Expert 7: Marketing Your Basement Studio
After you’ve built the space, the next step is to attract clients. I advise creating a short behind-the-scenes video that showcases the transformation - from empty basement to polished studio. Upload it to YouTube, the platform that started as a playground for indie creators YouTube, and embed it on your website.
Leverage local SEO by listing your studio on Google My Business and using keywords like “photography creative studio” and “creative portrait photography”. I’ve seen photographers double their inquiry rate within weeks by simply adding a gallery of basement-shot portraits to their site.
Finally, partner with local businesses - coffee shops, boutiques, or art galleries - to host pop-up portrait events. This cross-promotion spreads word-of-mouth and demonstrates the versatility of a basement studio.
Key Takeaways
- LED panels give affordable, adjustable lighting.
- Painted gray walls act as a neutral backdrop.
- Modular furniture maximizes limited space.
- Acoustic blankets improve audio for video.
- Use mid-range gear for professional results.
FAQ
Q: How much does it cost to convert a basement into a photo studio?
A: Costs vary, but a basic setup - LED lights, paint, a backdrop, and a tripod - can be assembled for under $1,000. Adding acoustic treatment or premium gear raises the budget, yet most DIY projects stay below $2,500.
Q: Do I need natural light for portrait photography in a basement?
A: Natural light is optional. Controlled artificial lighting, such as LED panels or softboxes, can replicate daylight and offers consistency regardless of the time of day.
Q: What are the best backdrop materials for a small basement?
A: Matte gray paint, seamless paper rolls, and blackout fabric are top choices. They are inexpensive, easy to install, and create a clean, non-reflective surface.
Q: How can I improve sound quality for video shoots?
A: Hang acoustic foam or heavy moving blankets on walls and ceiling, use a portable vocal booth, and place a rug on the floor to dampen echoes.
Q: What marketing steps should I take after building my studio?
A: Create a behind-the-scenes video for YouTube, optimize your website with keywords like “photography creative studio”, list your space on Google My Business, and partner with local businesses for pop-up events.


